

I often find myself drawn to new activities that are not as easy as they look. Take the above as an example. This masterpiece of craftsmanship was picked up at a yard sale last summer. I have a love for the look of galleons and an open space on my wall so it was an easy purchase decision, never mind the unbeatable asking price of $.50. I would have paid ten times that amount! (which would still only be $5 and therefore a steal for a handcrafted item that obviously took many hours to complete.)
I hung the piece in our dining room and found that it drew my eye a lot as I went about my days. The more I looked at those billowed sails the more I thought it really looked like it was a fun thing to make. Perhaps I should make my own string art? Similar to my addled imaginings while watching professional figure skaters, I began with the impression that string art magnificence could be achieved with minimal effort and maximum sparkly costume wearing. What could be hard about pounding some nails into a piece of wood and then twisting some string around them? Spoiler alert: I was wrong. Here’s a few things I learned the hard way.
1. To be fair, string art doesn’t have to be hard or complicated to have a great visual effect. Like many crafts, the quality of your output depends on the quality and appropriateness of your supplies and your ability to pay attention to the details of execution.

2. Use solid wood for the base of your first project. I did four pieces and used solid wood as the bases for all of them. I have seen other string art projects that use foam core or corkboard as a base but I wouldn’t recommend that for your first attempts. Solid wood plaques can be found inexpensively at all your local craft stores. The thrift store is also a great place to find solid wood objects at great prices.
3. Choosing the correct nail for the project is really important. Choose your wood first and then select the appropriate nail to go with that piece of wood. Nails should be thin with a sharp end. Make sure your nails are not too long. I used 11/16″ linoleum nails on boards that are .33″ – .75″ thick.
4. The final piece in the supply puzzle is the string you are using. I tried yarns both thick and thin, embroidery floss and sewing thread. The thickness of your material really effects the final look of the piece. The thinnest material–the sewing thread–tangled the most easily and was difficult to work with. I ended up liking the delicate thinner materials like the embroidery floss or thicker thread even though they were more complicated to work with. One of the threads that I liked most had a bit of a shine to it which looked good in the final product.

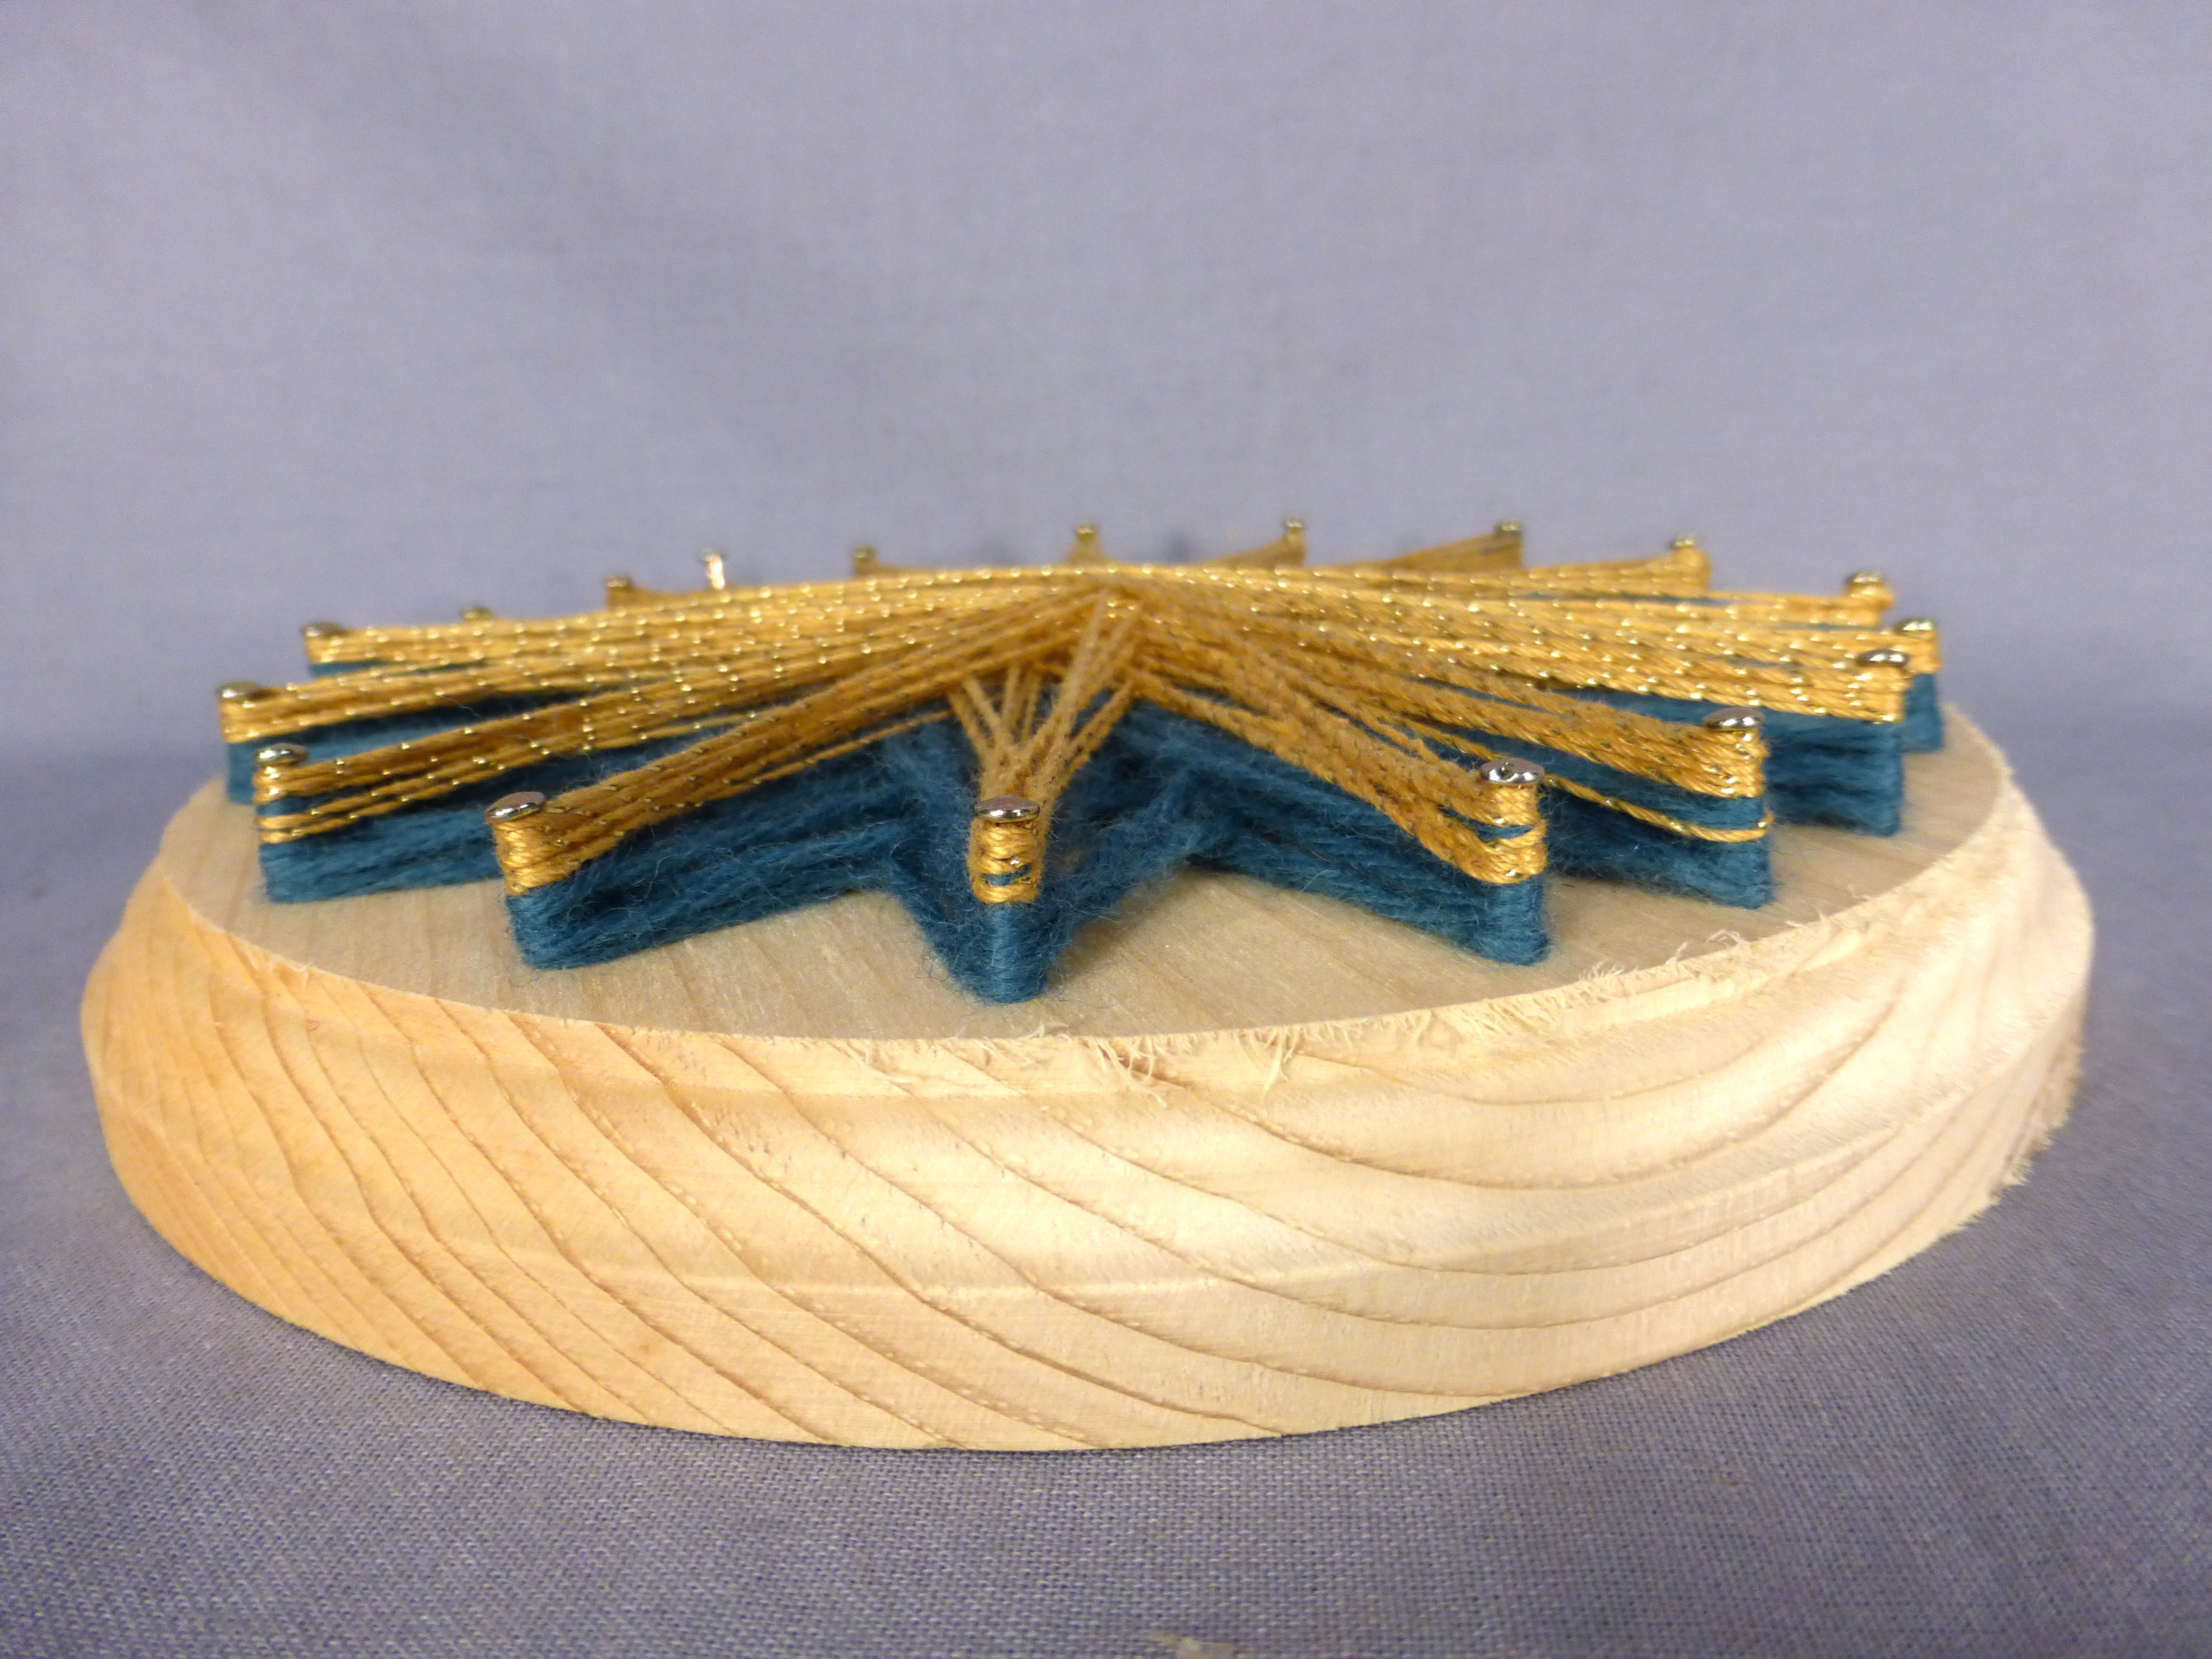
Using thick yarn on the bottom and thinner string on top creates a layered look.
Once you have your supplies together you are ready to begin. There are a few different ways to go from here: outlining a shape to fill in or setting out the nails and then using the thread to make the pattern. I tried each type and found that the outline was simpler to do.
5. Start with a simple crisp outline–the crisper the better. For my “A” project and the piece with the heart, I started with the shape I wanted cut out of cardstock.
6. Keep the nails close together and evenly spaced with an equal amount of head showing.
7. Once all the nails are pounded in, use the hammer to even out the heights as it will be more difficult to do this once you start stringing.
8. Choose your first nail position and tie a taut double knot around the nail. Push the knot down so it is inside the nails where it will be covered up by subsequent wrappings of string.
9. As you are wrapping the string keep an even pressure on the string.
10. The easiest pattern is the random fill in.

shown from the side to illustrate the various layers of string that build up as you work.
If you are attempting to create a pattern with the string pay attention to what side of the nail you are wrapping from.

using the string to create the pattern within the outline
11. Occasionally stop and wrap the string around a nail twice to serve as an anchor. The string WILL come undone, this is natural and to be expected. These anchors provide you a few extra seconds to grab the string before it unwinds completely. Push down the string towards the wood as you go to make room for further layers on the nail head.
12. Finish off your work with another taut double knot and perhaps a dab of glue on that knot after you cut the string.
All in all, I enjoyed my forays into string art but like figure skating, I don’t see it becoming my profession. One benefit of trying things yourself that are harder than they look is the increased respect you will quickly develop for the craftspeople who create intensive detailed pieces like my beloved galleon. You can check out more crazy good string art pieces on my pinterest board:

One thought on “String Art: Top 12 Thoughts, Tips and Tricks”